Tuesday, November 25, 2014

Need Dinner in 15 or less? Broiled Tilapia is the answer!

No lie, this fish recipe takes less than fifteen minutes. Start to finish. Beginning to end. Including prep time, cook time, and sliding that sucker on a plate.

Just saying, steaming some broccoli and carrots takes less than fifteen minutes, too, so theoretically you could get a healthy dinner turned out in no time.  However, I usually like rice with my fish (not sure why, I feel like it just goes well together?...), and that takes at least 25 minutes, so now we're up to half an hour.  But hey, don't say I didn't give you options!

This recipes is only for 2, so if you are feeding more, just double, triple, etc. it, and there shouldn't be any problems.  The best part?  It is only 5 WWP+ per filet!  For something as flavorful (not to mention that includes miracle whip & parmesan cheese) as these tilapia filets, that is amazing!

Here is another reason to keep that bag of frozen fish in your freezer: quick meals, like this one, for when you're not sure what to fix!

Ingredients:
2 5-oz Tilapia Filets, thawed
1 tablespoon Butter, melted
1 tablespoon Parmesan, grated
1/2 tablespoon Lemon Juice
1/2 tablespoon Miracle Whip (or fat-free/light Mayo)
1 teaspoon Italian Seasoning
Cooking spray
simple simple.
Turn Broiler on to high.  Line a broiler-safe pan with foil (optional, just makes clean-up easier) and lightly grease with cooking spray.

Pat fish dry and lay in pan.  Broil for 3 minutes.

In a small bowl, mix together all remaining ingredients.
easy peasy
Remove fish from oven and flip filets over.  Spread mixture over the top of the fish and return to oven. 
the butter will start to get all melty. 
Broil another 3-4 minutes, until the fish is flaky.

Ta-da!  That is literally it.  So simple!
Yummmmyyy! 
Roasted broccoli & cauliflower make a great accompaniment for any meal.

Tuesday, November 11, 2014

Crockpot Split Pea Soup

I'm not sure why, but I until a few months ago, Jess and I had never had split pea soup.  Seriously, though, why not? We both love peas and love soups, so I'm not sure how it had never crossed our bowls before...

So a few months ago, shortly after starting Weight Watchers, during one of my three-hour-long trips to the grocery store that ran my phone dead from using the barcode scanner on the WW app...geez this sentence is getting out of control...I found a package of "just add water" split pea soup.

It was amazing!  It is Alessi brand and literally you just boil 4 1/2 cups water, dump the package in and cook for about 15 minutes.  Jess seriously loves it!  I usually add a piece or two of bacon to his, just because he gets pretty grouchy with vegetarian meals, but I will eat it just as it is.  And the best part? Only 3 points per cup! WHATTT?  This is a seriously heavy, filling, starchy soup and is so low in points.  I added it to the rotation and we would eat it every few weeks, usually on weekends when we were busy.

And then it happened.

I went to Kroger and my beloved Alessi Split Pea Soup was on "final mark down."  I bought all the packages that they had (7, and I'm hoarding them for hard times), and hoped for the best.  Our Kroger was undergoing a big move and they were rearranging everything, so I hoped they were just trying to downscale their inventory.  However, the move has been finished for over a month now and they have yet to restock the Alessi soups...I'm sad.

In the midst of the chaos when I thought I'd never have my beloved soup again, I decided I needed to learn how to make it myself...to Pinterest!  I found several recipes, nabbed my favorite one, changed it a bit, and this is how it turned out.

I am going to just go out and say this: I don't like this homemade recipe as much as the bagged kind. Weird? Maybe, but it is true.  Second, it is not nearly as healthy (and I'm not sure why...), coming in at 7 points per cup.  However, it is REALLY filling, and 1 cup to 1 1/2 cup is plenty for me, so that is good. You can leave the meat out or substitute for something like ham hocks, leftover ham from Thanksgiving, bacon, etc.

Ingredients
16 oz dried Split Peas
1 small Onion
2 small/medium Carrots
2 cloves Garlic
12 oz Ham Steaks
7 cups Chicken Broth
1/2 teaspoon Ground Mustard
1/4 teaspoon Ground Thyme
Salt and Pepper, to taste
1/2 to 1 tablespoon Olive Oil
Did I mention this was cheap?
Heat oil to medium heat in skillet.  Brown the ham steaks to form a nice crust.  This took me like 10-12 minutes, flipping them every few minutes to check the other side. Remove and put on plate, do not drain oil or wipe pan.

Finely mince your onion, carrots, and garlic.  I ran mine through a food processor, but you don't have to.  They will pretty much break down and get super soft in the crockpot, so it isn't necessary to make them really small, it is probably more personal preference.

Add the vegetables to the hot skillet and saute for a few minutes.  I just let them brown a little to soak up some of the ham & oil flavor.
I'm not sure what happened to this photo...sorry! I need a new camera...
Add ham, vegetables, peas, chicken broth, and seasonings to crockpot.  Set to low and cook for 8-10 hours.
Haha, this doesn't even look appealing at all, but it is! 
Remove the ham steaks, cut into bite-sized pieces.  You could probably have done this before putting it all in the crockpot, I just didn't.  My ham was so soft it didn't even really need cut, it could pretty much be shredded with two forks.

Feed some ham pieces to anxious puppies.

Mix the ham back in.

Serve!  The great thing about this is that it will literally stay in the crockpot forever on warm.  Ok, not forever, but all day and evening.
The texture is amazing, too.  Such a thick, hearty soup for not many ingredients or much effort. 

Tuesday, November 4, 2014

Shrimp & Sausage Jambalaya

I feel like I should have named my blog something about hearty, comfort food...because those are all my favorite recipes and this one is no different!  It combines some of mine and Jess's favorite things into one, big throw together meal: shrimp, sausage, spiciness, rice, peppers...the list goes on!  Have you guys ever been to New Orleans?  I have and wasn't too impressed, EXCEPT for the food...oh man, I love cajun/southern/whatever-it-is food.  Jambalaya is one of my meals, either to order at a restaurant or to fix at home, so thanks, Louisiana! (If it originated somewhere else, sorry!)

I have altered this same recipe a few different ways, either adding or removing peppers, proteins (sometimes I add chicken, or do only one kind of protein), adding more broth and making it a gumbo (soupy-Jambalaya!), you get the idea.  But all in all, this is the way I like to make it, more tomato-saucy than dry, but less brothy. 

It is plenty of food on its own, but you can never go wrong by adding a few pieces of crusty bread to dip in the tomato-ey goodness.  Or serve with a salad for a well-rounded meal...we don't do that, but you're welcome to!  We also like it pretty spicy, so feel free to cut back the amount of cayenne and replace jalapenos with bell pepper.

Shrimp & Sausage Jambalaya -
1 large Onion, diced
2 medium Jalapenos, diced
1 red Bell Pepper, diced
3 cloves Garlic, minced
13 oz Smoked Sausage, cut into rounds or bite-sized pieces
2 tablespoons Olive Oil
28 oz Crushed Tomatoes
3 cups Chicken Broth
1 lb Okra, cut into bite-sized pieces
Salt, lots of salt...
1/2 cup DRY Rice
1 teaspoon Dry Mustard
1 teaspoon Ground Sage
1 teaspoon Paprika
1 teaspoon Cumin
1 teaspoon Parsley
1/2 teaspoon Cayenne
1/4 teaspoon ground Thyme
10 oz raw Shrimp, peeled & deveined

If your okra is frozen, thaw it.  If not, cut into bite-sized pieces, discarding ends.  I think you can eat the ends, but I don't like them, so I always toss 'em.  In a large bowl, combine a few cups of water and quite a bit of salt.  Almost until it stops dissolving, so several tablespoons. Add your cut okra to the bowl, adding water to cover if needed.  Let sit while you continue preparing.  This will take some of the stickiness out of your okra. 

In a large soup-pot, heat up your oil to medium-low heat.  Meanwhile, dice up all your veggies and sausage.


Brown the onion, peppers, and sausage for 5-7 minutes, or until the vegetables are soft.  Add garlic and cook another minute or so. 


Add chicken broth and crushed tomatoes, bring to a boil.

Add rice, okra, and all the seasonings.  Turn heat down, cover, and simmer for 15 minutes. 

Add shrimp, stir together, cover, and cook another 5 minutes or so, or until the shrimp are opaque and pink.

Remove lid, cook off any additional liquid.  If at any point it needs more liquid you can add additional tomato sauce or chicken broth.

Yum!


Monday, October 13, 2014

Honey Lime Tilapia

The honey lime marinade is back in action! So a few weeks (months?) ago I shared a honey lime shrimp recipe and promised a tilapia recipe to come.  This is me making good on that promise.  The recipe and process is very similar and by that I mean it is really easy and quick.

I never know when Jess is going to be home from work  because it varies day-to-day.  So usually I prepare dinner to a certain point, wait for his text or call and then finish according to what time he thinks he will be home.  This meal is great for that because once the fish is marinated, start to finish it only takes about 10 minutes to prepare. 

Just a little plug about tilapia.  I love seafood of all kinds, but growing up is was always an eating-out kind of food.  My mom doesn't like it, so she never cooked it, and I took that to mean it was difficult.  False.  I have found so many great fish and shrimp recipes!  I love to keep a bag of frozen tilapia filets in the freezer for dinners or quick lunches when I'm home alone.  They thaw quickly and can be prepared and cooked in no time.  This recipe is lightly breaded (floured...), but you could probably just pan-fry it straight out of the marinade if you wanted to make it healthier!

Honey Lime Tilapia - 8 points per 7 oz filet (which is large!)
Zest & Juice of 1 Lime
1/2 tablespoon Olive Oil
1 Tablespoon Honey
1/4 teaspoon Salt and Pepper
1/4 teaspoon Garlic Powder
2 medium filets of Tilapia
Flour for dredging (about 1/4 cup or less)
Salt & Pepper to taste
1 tablespoon Olive or Vegetable Oil

In a bowl, combine lime juice, lime zest, 1/2 tablesppon oil, honey, 1/4 teaspoon salt, pepper, and garilc powder.

Pour into ziplock bag and combine with thawed fish filets. Let marinate in refrigerator for at least an hour, but up to 5 or 6 hours.

Heat 1 tablespoon of oil in large skillet over medium.

In a bowl, combine flour with a few dashes of salt and pepper.  When pan is hot, dredge fish in flour and lay in pan.  Cook 3 minutes on each side.


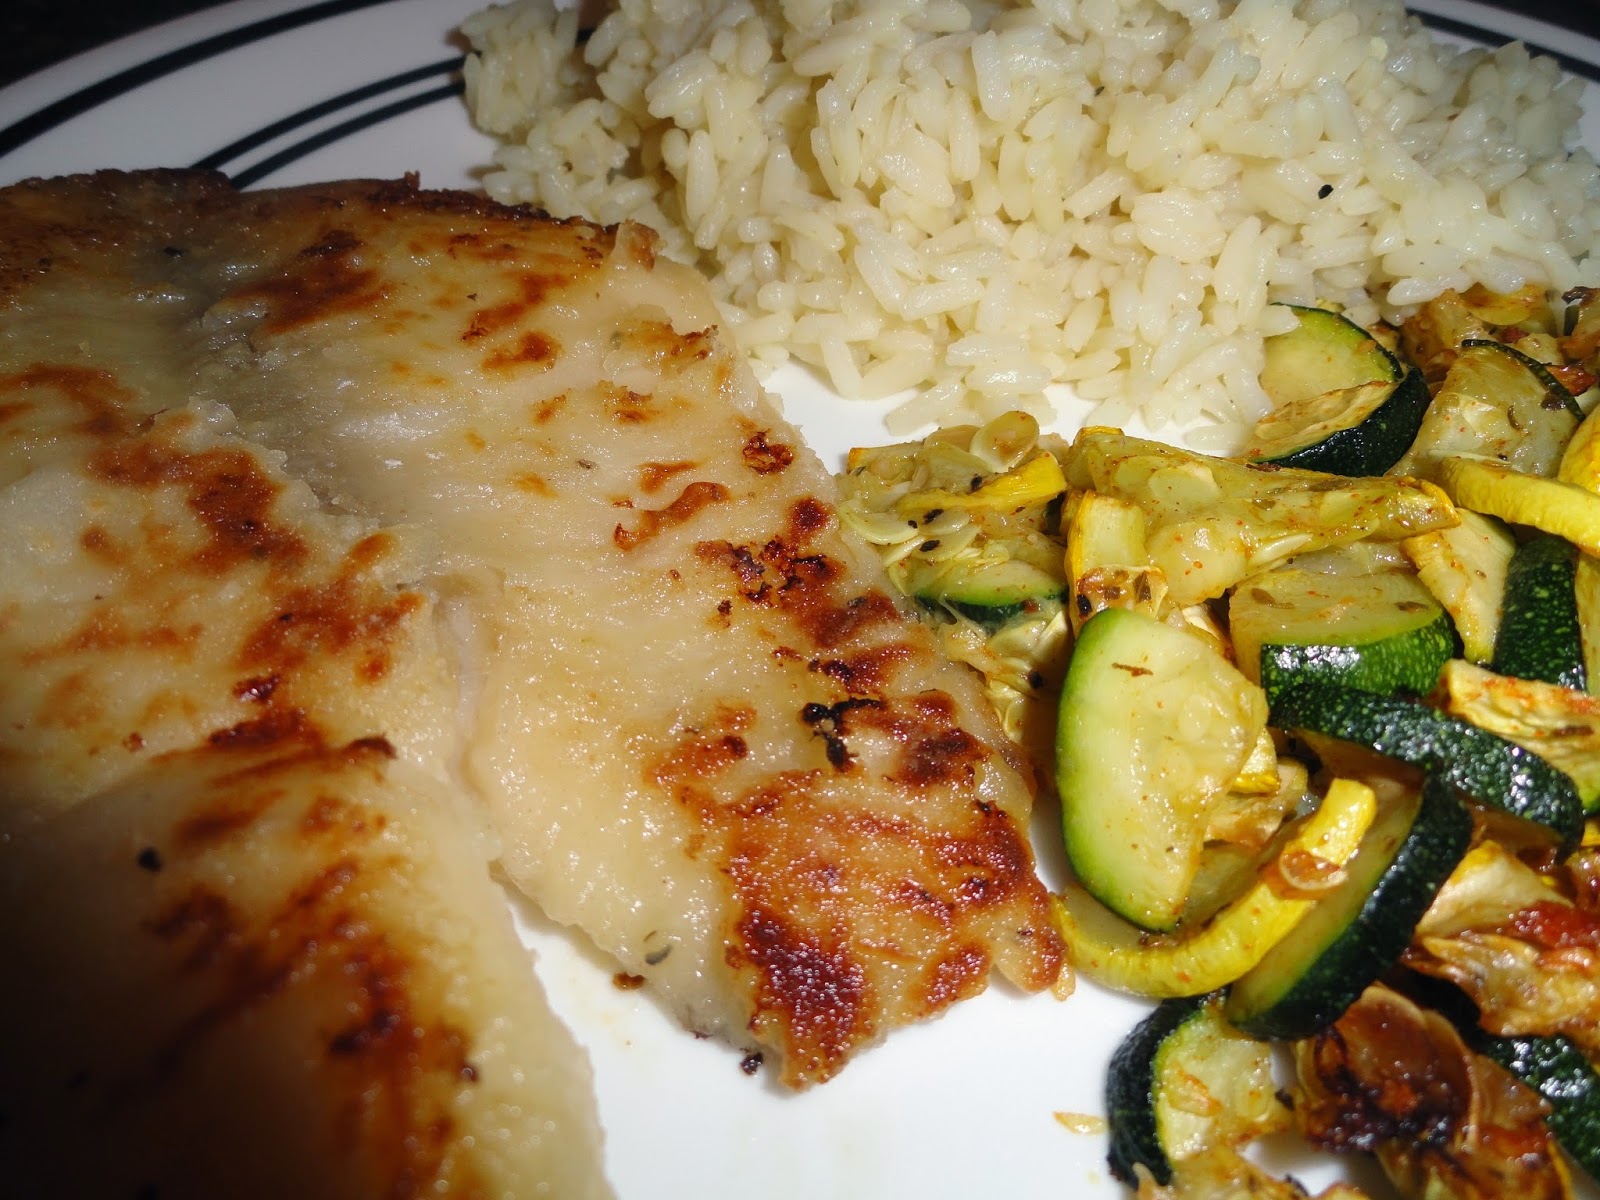
Ta-da!  I served ours with a side of rice and some roasted zucchini squash, deeeelicious! I feel like this would be a pretty good marinade for fish tacos, too...I may have to try that out soon!


Tuesday, September 30, 2014

Look, I Made This: Simple Zip-Up Shift Dress

So this dress has been several months in the making.  My Aunt Betsy was so generous the last time I was visiting with her and let me pick through her fabric stash!  I came home with almost a whole tub full of fabrics in all kinds of patterns and colors!  I am very excited to get going on some other projects, including a linen button-up for Jess and some more dresses and skirts for me.  I promise to take lots of photos and throw in some tutorials.
Ignore my glamour shots...awkward. 
As for this linen dress, I am crazy excited to finish it and be able to wear it.  I didn't use a pattern or anything, I just used a dress I already had as a pattern.  However, when I first finished it, it was a litttttle too tight.  Rough. Life.  However, I just tried it on again and it fits soooo much better than it didn't when I finished it and took the photos, so I am much happier than before!

This was 100% a trial and error.  Trust me, there were some errors.  The seam-ripper was my friend!  So, is there a better way to create a dress?  VERY likely.  Did this way work? YEP!

So here's what you need:
2 yards (roughly, depending on your size) of main Fabric, I used linen, but you could probably use anything.
2 yards (see above) of lining fabric, I used a really thin muslin because I wanted it comfortable
Matching or coordinating thread
Ruler
Fabric pen
Pins (lots and lots of pins)
Tape Measure
Zipper, mine was long, like 20" or something, but you could use a shorter one, I think.
Scissors
Sewing machine & basics
A dress (or top, just elongate it as needed)

Before we get started, I would like to urge your to go ahead and iron all of your fabric very well.  It will make tracing, cutting, pinning, sewing, and basically everything so much easier.

SO, let's go!

Lay out your fabric and trace your favorite dress or shirt, or whatever pattern you are using, onto the fabric.  I did my lining first, then continued to use that as the pattern.  Cut out four pieces of fabric for your front and back, two lining and two regular fabric.

Next, line up your front piece of dress fabric with the front piece of lining fabric, making sure that dress fabric is right-side-out.  The lining likely doesn't have a right or wrong side, so no worries about that.  Do the same thing for the back pieces.   Pin together well.  Next, lay the dress pieces together right-sides together, so the dress pieces will be touching and the dress will start inside-out.

Sew the top of the straps, just to keep it from slipping around.

On the back piece, measure and find the center of the BACK piece (make sure it's the correct one, typically the neckline will be a bit higher), and make a line down the back.  This is where the zipper will go.  I went ahead and cut the piece fully in half, but you can just cut down however long your zipper will be.

Now, measure and find the center of the FRONT piece, IF you want a notch-V in the front. Cut that slit, fold to get ready for the hem.

Finish the edges of your neckline and armholes.  I folded (and ironed!) each edge under 1/4", then another 1/2" and then double stitched.  You can see in the photos below.


Now, do the same thing for where you cut your back piece for the zipper, just to make it easier to to work with when installing the zipper.


Attach your zipper per the instructions.  It is pretty easy, just pin it underneath the seam, and zip it up using the zipper-foot attachment on your sewing-machine.  There are plenty of tutorials around if you need a video to help, this was one of the more time-consuming parts.


Next, it's time to sew up your sides!  Lay flat, smooth out, and maybe iron again. Lay pieces right-sides together, making sure the seam on the top of the straps are actually at the top and are even.  It is hard to describe, but I think you know what I mean.  You just want it to lay even when it is finished.

Sew the edges together!  Be sure to measure everything here to make sure you're sewing the same amount of fabric on each side.  I suggest measuring out the same amount from the zipper and from the center of the front to be sure.

The last step is to hem the bottom! Mine was a little long, so I folded up 5/8" inch, ironed, then folded in another 1" and stitched there.


All done! Ha, don't worry, this actually took me about three months to finish...so it wasn't "that" easy. If you can finish in a shorter amount of time, I commend you! I got a little frustrated.   All in all, I am very satisfied with the final product.
I mean, please, look at this gorgeous pink linen!
What girl wouldn't want a dress made from this? 
Love it! It fits much better than when these photos were taken.  Maybe I'll retake them sometime...maybe not.  Either way, I'm very proud of myself!