I found this wonderful remnant fabric at Joann's a few weeks ago and I couldn't decide what to do with it. Joann's remnants are 50% the original yardage price of the fabric, so: score. It is such a pretty multi-color chevron knit, but only about 1/4 yard long, so too short to make top or skirt out of. But THEN I was wandering around the store when I found these long sleeve Jerzees t-shirts for 50% off which made them seriously like $2 or something. I bought a light pink and a heather gray to coordinate with my chevron knit and voila, the frocket project was born.
 |
| It's soooooo pretty. |
So, Materials:
1 t-shirt (seriously, any t-shirt)
1 6x6 (ish) square of fabric (I used knit, but you could use pretty much whatever)
Coordinating (or contrasting) thread
Ruler
Pins
Sewing machine & basic notions

First, decide how big you want your pocket. I wanted mine to be pretty standard, so I dug around in my drawers and found a t-shirt with a pocket and measured it. It was 4.5 x 4.5", give or take a little for the pointed bottom.
Next, I folded my hem down on top and stitched across making a roughly 1/2" hem. then, I folded the sides in on both sides so that the fabric was 4.5" across and did another 1/2" hem down both sides. Then I trimmed the extra fabric on the inside close to the stitch so there wouldn't be anything bulking out when I sewed it onto my shirt.

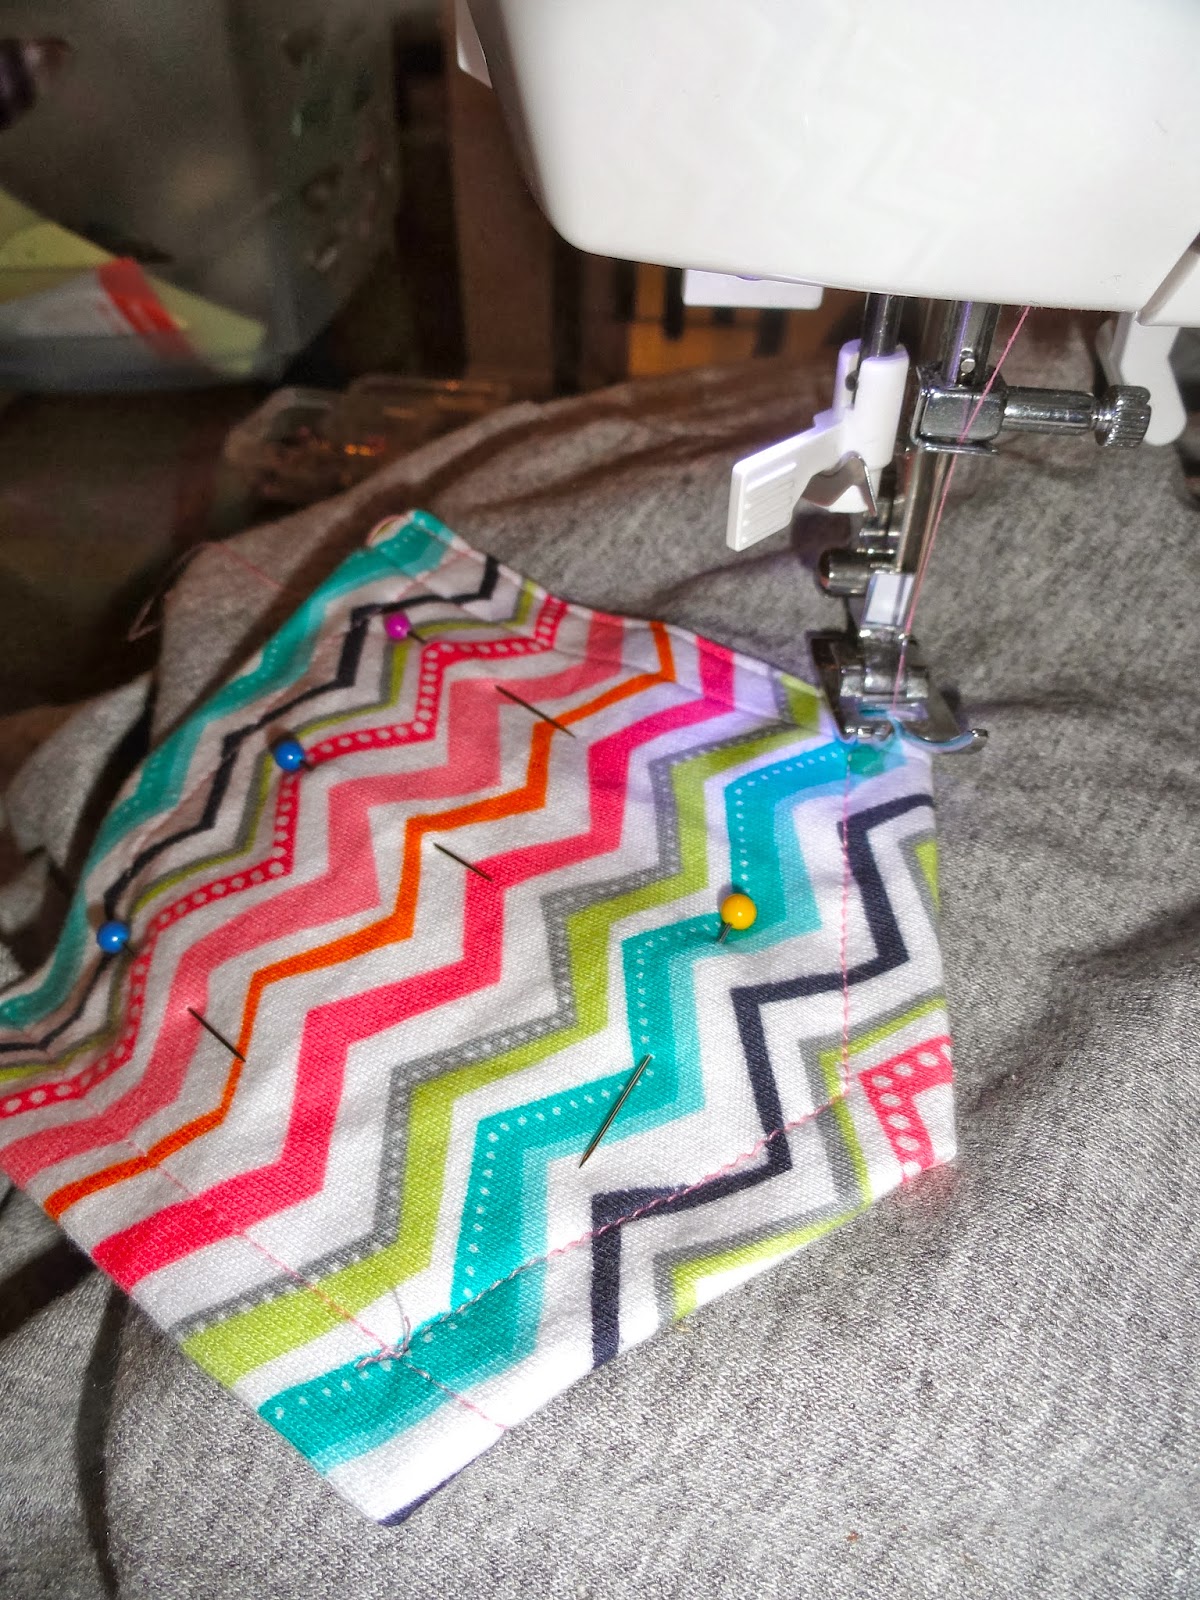
Next is the trickiest part: the pointed bottom. Find the middle of your pocket and mark it at the bottom. Now fold both sides of the bottom up slightly to form the point, be sure to measure it so that it stays in the middle and the sides rise up the same length. Pin in place when you have it even. You can go ahead and stitch 1/2" in on those two folded edges of the point if you'd like (I did), it would frame the pocket nicely, or if you're ready to sew it to your shirt, proceed.
 |
| I trimmed off that excess fabric before I started sewing. |

This is seriously such a fast project. As in I made the entire pocket start to finish on my lunch break and still had time to eat and watch half an episode of The Walking Dead...I have a vast array of hobbies and interests.
To pin it to your shirt you can do it one of two ways. One: put your t-shirt on and use a mirror to determine where you want the pocket and pin it there. Two (what I did): line your new t-shirt up directly on top of a t-shirt that already has a pocket and lay them both flat on the ground or a table. Just feel around to see where the pocket is (you can feel it through the shirt) and lay your new pocket directly on top of that one. Pin it gently so that when you put your hand inside she shirt the pocket doesn't slide or get turned crooked.

Once it's pinned it is time to sew it on! I kind of winged it and didn't measure. Rather, I just sewed as close to the edge of the pocket as possible. Remember to backstitch at the beginning and the end to secure the stitches. Also, seems like a durr moment, but make sure you don't stitch across the top of the pocket...ahem, sometimes you just get on a roll...
Trim threads and try it on! If it doesn't fit where you'd like, use a seamripper and tear that baby off there, carefully, of course, and try it again. This project is super quick so it won't take you much time if you have to redo it.
Enjoy your fancy, new t-shirt!
 |
| Oh, yea, I made two of them. |

No comments:
Post a Comment