Monday, July 28, 2014

T-shirt + Fabric = New Dress with a Sash!

So I found this gorgeous green, floral calico fabric at Joann's a few weeks ago and I knew I needed it. Oh, it was on sale, too, so no guilt! I really wanted to make a really full, high-waisted skirt with a bow, but there wasn't enough of it left, so I decided to just make a gathered dress using a t-shirt I already had in my closet.  I made it a maxi, but I'm thinking I may cut it off to about the knee or just above there.  I haven't decided.

Seriously, all you need for this dress is about 1.5 yards of fabric (you could use probably about whatever type of fabric you want, just adjust your needle & sewing tension accordingly), a t-shirt that you like the fit of, elastic thread, and basic sewing notions.

First, on the waist-end of your fabric (probably the long end), sew across using elastic thread on your bobbin and a zig-zag stitch.  This will create your loose gathers and make it able to stretch.  Fold the skirt part right-sides together and sew up to form the skirt and then turn right-side out.  Sorry, I don't have a photo of this part!


Next, put on your shirt and mark where you want the skirt part to hit and cut off right below the line, making sure to leave an allowance for you to sew your skirt section to!  I left like 2 or 3 inches, I figure it won't make much difference and I can cut it off later if I want to.

Slide your shirt down into your shirt and line up your skirt where you marked earlier, pin it.  I used seriously so many pins.

Sew right on top of the elastic, using a zig-zag stitch.

Try it on, measure how long you want it and hem it at the right place.  While I suggest ironing at most steps, it is most helpful with hems.

Now, to make the sash, cut off a strip (I had to use two and sew them together) long enough to reach around your waist and tie in a bow and about 7 inches wide.  Fold over, iron, and stitch so it is 3 inches wide.


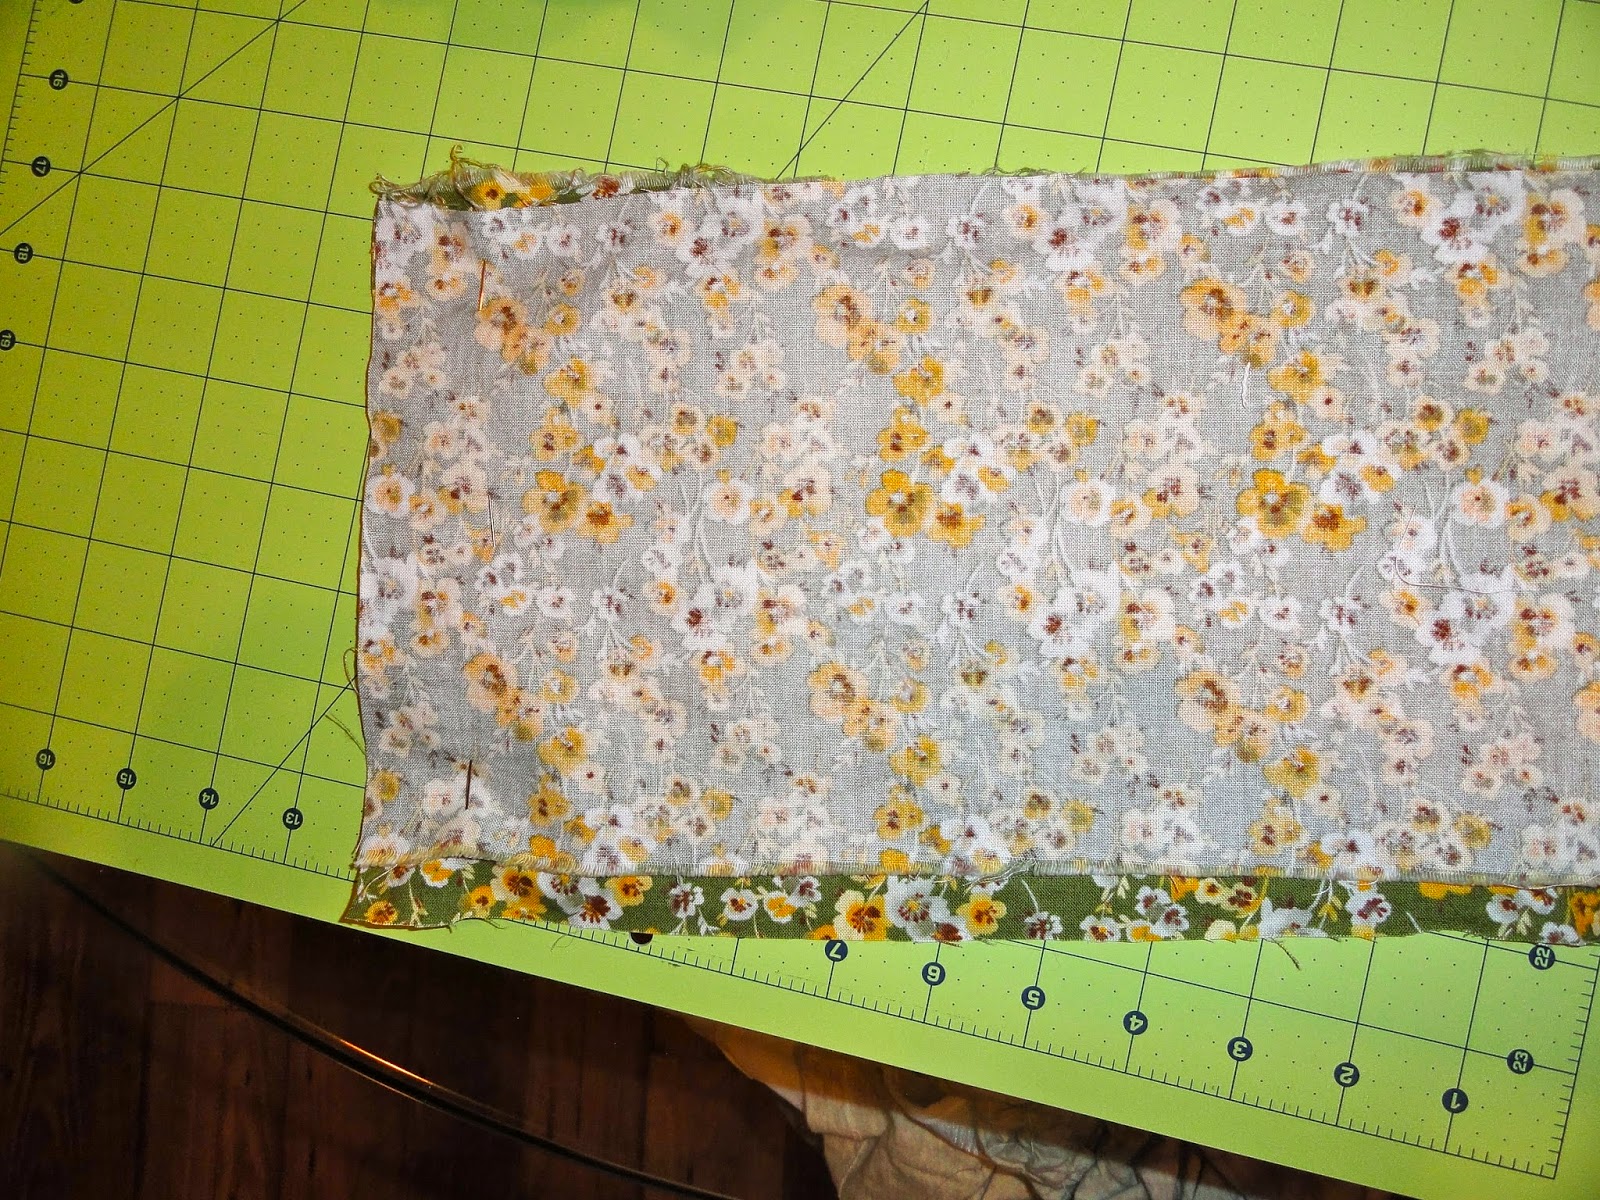
Turn inside out.  This is time-consuming, but not that difficult.

I ironed mine so that the seam was in the back, but you could also leave it just at the bottom, it is all personal preference.

I just folded the edge in a bit and then over at a 90 degree angle and sewed that up.  There is probably a better/more professional-looking way to do this, but it worked for me.

Try it on!


I'm loving this!  I think if I cut it off this will look super cute with cowboy boots.  I may rock it at some concerts this fall.  We shall see!

Monday, July 21, 2014

Crockpot Chicken Tortilla Soup

Crockpots & soups are two things people (those people who cook that is) typically associate with fall and winter.  However, in our home we eat soup all the time.  Paired with a nice salad or slice of bread and you've got a light summer dinner!  Plus, soups are a great way to pack in the vegetables.  A few weeks ago I made a hearty vegetable soup with ground venison (think Campbell's Vegetable Beef in a can, but homemade & fresh).  Jess couldn't get enough AND it was only 3 WWP+ per cup!  It was so filling I only ate about a cup and a half of soup, so you could go ahead and say it is a winner. 


This is a classic and a favorite for us.  It combines our love of soup, spicy things, and an excuse to use tortilla chips!  Not that it would ever be an issue for us serious carnivores, but it would be easily converted to vegetarian by removing the chicken (you could add more beans or tomatoes if you wanted) and replacing the chicken broth with vegetable broth or stock. 

Now, any extras you may throw on here are not calculated in the points per serving.  So before you go crunching up those chips or adding some sliced avocado, make sure you're not throwing off your healthy eating.  And if you aren't tracking WW points: I'M JEALOUS! 

Chicken Tortilla Soup - 7 WWP+ per serving, makes about 6 servings
Ingredients
1 large Onion, diced
3 cloves Garlic, minced
1 TBSP Olive Oil
2 TSP Chili Powder
1 TSP Oregano
1 dash Cayenne
28 oz Crushed Tomatoes
10.5 oz condensed Chicken Broth
4 oz diced Green Chiles
2 large Chicken Breasts
2 cups Corn (fresh, frozen, canned, whatever)
15 oz Black Beans, rinsed and drained
Ignore the line of cornstarch on the counter...sorry! Ha

Heat olive oil in pan over medium-low heat.  Add onion and cook until soft and translucent, 5-7 minutes.  Add garlic and cook for about 1-2 more minutes.

Combine onions, seasoning, tomatoes, chicken broth, and green chiles in crockpot. Place two chicken breasts in middle. Cover and cook on low about 4-5 hours.


Remove chicken and shred. 

Return chicken to crockpot.  Add corn and black beans.

Allow to heat up thoroughly, about 30 minutes or so.  Serve! 

You can add cheese, chips, avocado, diced tomatoes, really whatever you like!

Sunday, July 13, 2014

Creamy Chicken & Green Chile Enchiladas

**So I came across some old photos & write-up of enchiladas that I forgot to post about...oops!  So here they are, um, they're not healthy.  So, sorry about that, too!  They're like 9 WWP+ per enchilada...but they're good!

I love Mexican food - I think I've mentioned that before.  But seriously, I could eat chips & salsa every day and be a happy girl.  I recently made my own salsa, too!  Maybe someday I'll tell you about it, but I was too excited to finish that I didn't take photos or anything...I actually didn't even write down what I put in it, so that could get a little difficult to replicate.  Oh well.

So, here we have a recipe for cream cheese chicken enchiladas.  They were cheesy, creamy, slightly spicy, and delicious.  This recipe made enough for a whole family and they weren't that great reheated, so maybe in the future I'll halve it.  Other than that, I have no complaints.  I served it with my semi-homemade Spanish rice, chips & salsa, and had a nice little meal!

Ingredients:
5 oz reduced fat cream cheese, softened
1/4 cup light sour cream
10 oz enchilada sauce, I used Medium
1 cup shredded cheddar cheese
1 cup shredded monterey jack cheese
2 cups shredded chicken (I used dark meat)
1 small can corn
4 oz diced green chiles
1 tsp chili powder
1/2 tsp cumin
8 whole wheat tortillas
Salt & pepper

Preheat oven to 325 degrees F.  Lightly spray a 13x9" pan with cooking spray.  Spread 1/4 (which is about 1/4 cup) the enchilada sauce in the bottom of the pan.

In a large bowl, mix together cream cheese, sour cream, and 1/2 cup enchilada sauce.  Add 1/2 cup of each cheese.


In a different bowl, mix together chicken, corn, chiles, chili powder, and cumin.  Salt & pepper to taste.

Add chicken to the cheese bowl and mix well.

Fill each tortilla and roll up.  I laid all 8 tortillas out on the counter and spooned equal amounts of mixture into each one, it was easier than having not enough or too much left over at the end.

Place rolled tortillas in baking dish (seam down).  Pour remaining enchilada sauce over the enchiladas and sprinkle with remaining cheese.

Bake for about 20 minutes and you're done!  I started my rice after I put the enchiladas in the oven and they were finished about the same time, so it was perfect!

Monday, July 7, 2014

Honey Lime Shrimp

I love seafood and I have since I was a little girl.  Both of my parents lived in Florida when they were younger (that's where they met!), and we still have some family/friend ties, so I spent much of my childhood either near or literally in (yay for boats & stilt-houses!) the Gulf of Mexico. It still holds a special piece of my heart...I love the beach!  I digress.

So, seafood: I make tilapia a lot because it is cheap and super easy and fairly healthy.  However, sometimes I like to splurge on shrimp.  There is just something that seems so fancy when shrimp is served for dinner.  This recipe is simple, quick, and other than the shrimp and maybe a lime, you probably have everything you need right in the fridge/cabinet.  The first time I did a honey-lime recipe it was in fact tilapia, and Jess loved it!  For that you marinade filets in the same mixture, but then before you pan fry it you cover it with a bit of flour with salt & pepper.  Delicious.  Maybe some day I will show you. But today, it's just shrimp & roasted California vegetables.

Note about cooking with shrimp: for this recipe I used shrimp from the meat department at Kroger.  However, if frozen bags of shrimp are on sale, that is normally what I buy.  It just happened that the "fresh" (it is still actually frozen...) loose shrimp were cheaper.  What I do recommend any time you're cooking with shrimp is to make sure you get raw, not cooked.  Shrimp can get rubbery and overcooked extremely quick, so if you use pre-cooked and then try to heat it up you can easily go too far.  Shrimp is super easy to tell when it's done, too!  It turns that nice pink color.  So there you have it: fresh or frozen, but make sure they are raw!
Jess got more food than me, so he got to eat his shrimp on a bed of pasta...ok, maybe I had a half cup, too! 
Honey Lime Shrimp - 9 WWP+ per serving, yields 2 large servings (1/2 lb each)
Ingredients
1 lb large shrimp, raw
4 TBSP Honey
1/2 cup Olive Oil
4 cloves Garlic, minced
Juice and Zest of 1 small Lime
1 TSP Salt
1/2 TSP Pepper
1/2 TSP Red Pepper Flakes
Not many ingredients! 
If your shrimp are frozen, thaw them out the day before or the same day by running cool (not hot, you'll cook the shrimp!) water over them in a strainer for about 5-10 minutes.

In a medium bowl, mix all ingredients except shrimp. 

Pat shrimp dry and add to the marinade, making sure they're all covered.  You may prefer to put them in a ziplock bag or a flat dish, whatever is easiest for you and allows all the shrimp to be covered with the marinade. 

Marinade in the refrigerator for 30 minutes to an hour, then set out on counter for about 10 minutes to bring to room temperature. 

Cook shrimp in a pan over medium heat until they turn pink, about 2-3 minutes. 
Not done, yet...

Finished! 
I served mine with roasted carrots, cauliflower, & broccoli.  If you want to use the marinade as a sauce, in a small saucepan add the marinade and bring to a low boil and then simmer for a few minutes until it reduces by about half.  You can add a little chicken broth if you need to add a bit of liquid.  Just make sure you make a reduction, because you've got raw shrimp juice hanging out in there.

I roasted the vegetables in the oven at 400F for about 30-40 minutes with some lemon pepper seasoning.