Monday, September 21, 2015

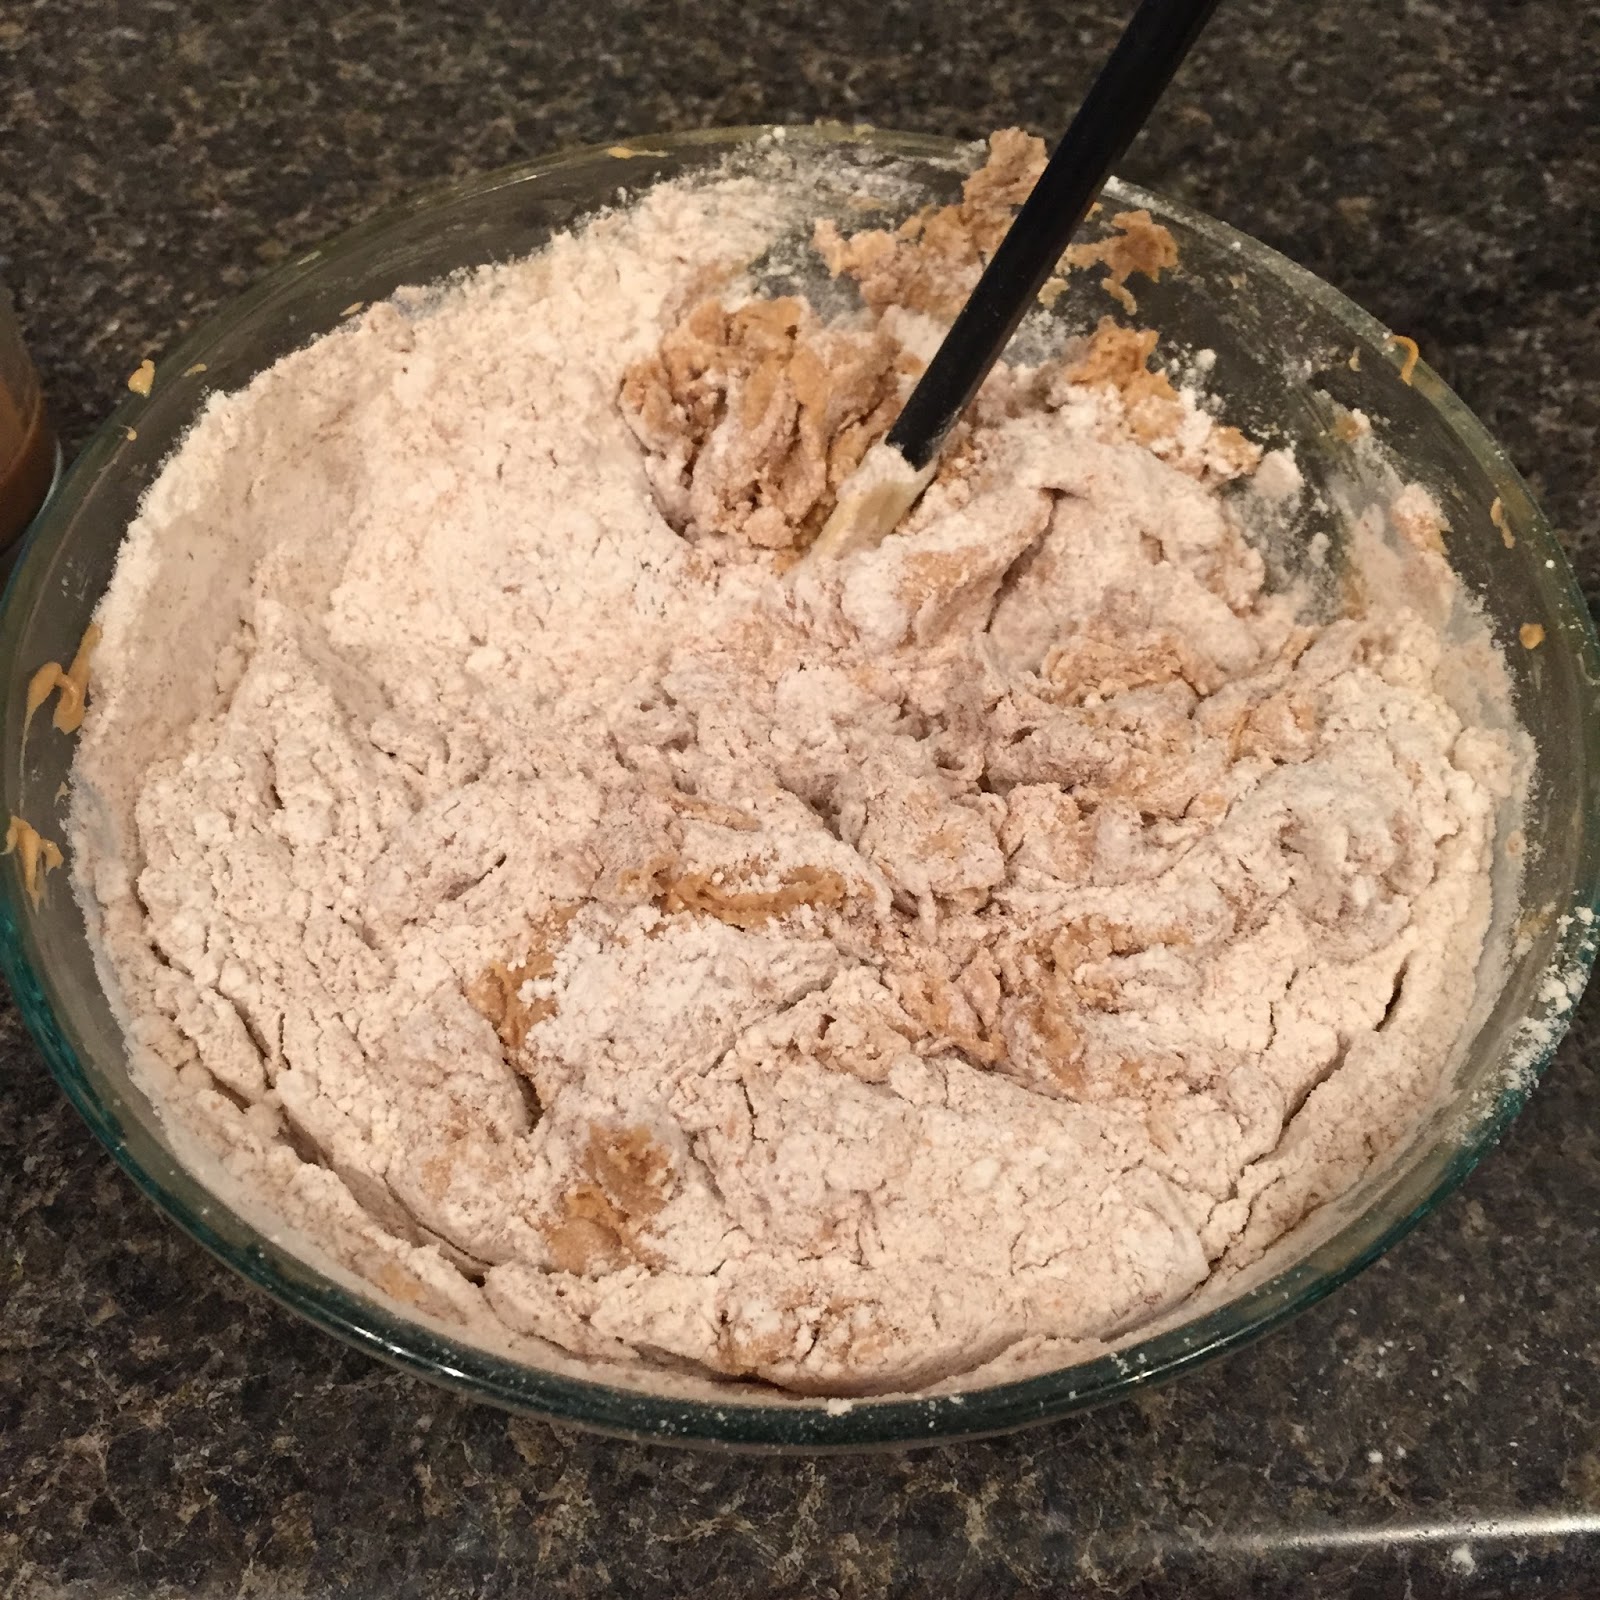
Amazing Peanut Butter Cookies

Last week I posted about the I Do BBQ and the cookies that were so delicious, so this week I thought I'd share that recipe!

These cookies are seriously amazing. They are soft and thick and oh-so-peanut-buttery. Some of my all-time favorite cookies are actually the packaged ones from Wal-Mart and these are similar to those. I think one of the keys is rolling them in granulated sugar, it is such a different and great take on the peanut butter cookie!

I'm telling you, Jessica from Sprinkle Some Sugar really outdid herself with these Perfect Peanut Butter Cookies. I made a double batch from her recipe.

Ingredients
1 cup butter (2 sticks), softened
1 cup light brown sugar
2 eggs
4 teaspoons vanilla extract
1 1/2 cup creamy peanut butter (pretty much a whole 1 lb jar)
3 cups all purpose flour (I ran out and added some whole wheat the end)
1/2 tablespoon baking soda
1/2(ish) cup granulated sugar for rolling

Instructions
Preheat oven to 350 and line some baking sheets with parchment paper.

Cream together butter and sugar until smooth.

Beat in egg, vanilla extract, and peanut butter.

Mix in flour and baking soda until just combined, don't overmix.

Refrigerate dough for about 15-20 minutes.

Roll tablespoon sized balls and roll in granulated sugar.

Place on baking sheet about an inch apart.

Bake for 8 minutes, remove from oven and let cool on pan for 5 more minutes. Then remove to wire rack until they completely cool.

Devour all of them. Or take them to a party. Or whatever, you do you.


Thursday, September 17, 2015

Hosting an I Do BBQ!

My friend Emeline and I recently hosted a couples shower for our Little Sister Casey and her fiance Brett! We had never thrown or been to one before, but Pinterest piqued our interest and then once we started researching it and looking at how adorable the theme was we knew we had to do it.

Ours was pretty simple and most of it was put together the week of the party, but there is obviously room to expand!

We served pulled pork, pulled chicken, macaroni & cheese, and green beans from City BBQ which was very convenient because buns and three different kinds of sauces came with the package. Super easy. I made these caprese skewers from Iowa Girl Eats and they were a huge hit! Before dinner we also had chips, salsa, and guacamole set out.

For dessert we ordered cupcakes from a wonderful local bakery and I made some of these perfect peanut butter cookies, which are aptly named and I think I speak for everyone who ate one that Jessica at Sprinkle Some Sugar knows how to make a peanut butter cookie.

We also served some beer, wine, lemonade, and tea; we told guests they were welcome to BYOB as well.

We had a gift table that included little jars to put advice and date ideas in, a basket for cards, a wooden L for the guests to sign and then the couple to take home. We also made little s'more kits as party favors and they were adorable! We put 4 graham crackers, 2 marshmallows, and 1/2 regular sized Hershey bar in each bag.
S'mores! 
For decor, Emeline made luminaries out of tin cans by poking holes in them with a hammer and nail. We also put out beer bottles mingled with Ale8-1 bottles (the pretty green ones!) with flowers in them. The flowers were purchased that morning from a local farmer's market and were probably my favorite part of the whole party.

We had a fire going and cornhole boards set up, but mainly it was nice to just catch up and celebrate Brett & Casey in a relaxed setting...30 days and counting until their I Dos!

Monday, September 14, 2015

Broccoli Cheddar Soup

It's getting colder out and it is time to start soups & stews for dinner!

I made a big pot of this broccoli cheddar soup on a Monday evening a few weeks ago and Jess & I both ate it for lunch throughout the rest of the week. It was rich, flavorful, pretty easy. Check it out!

Ingredients
1/4 cup + 1 tablespoon light butter
1/2 onion, chopped
1/4 cup flour
2 1/2 cups half & half
4 cups chicken broth
16 oz broccoli florets (fresh or frozen)
1 cup shredded carrots
1/4 teaspoon nutmeg
Salt & pepper to taste
8 oz sharp cheddar cheese, shredded

Instructions
Melt 1 tablespoon butter in large soup pot and saute onion until soft.

Add remaining butter and when it is melted add flour. Whisk 3-5 minutes.

Add half & half and chicken broth, simmer for 20 minutes.

Stir in broccoli, carrots, nutmeg, salt, and pepper. Simmer 30-35 minutes or until broccoli and carrots are very tender.

Blend soup with an immersion blender (I wish...) or remove to a blender/food processor and work in batches until it is blended pretty smooth. Be careful about putting hot food in a blender/processor, let it cool a bit first.

Return to low heat and stir in cheese. Simmer 10 minutes.

Stir and serve! It's pretty hearty, so a serving is right around one cup, but by all means, don't let me tell you how much to eat!

Friday, September 11, 2015

Meal Planning & Grocery Tips

A few months ago my friend came to visit and she asked how I stay so organized and on top of my meal planning, so I just wrote down an email for her that went through my process. I thought I would share that here in case anyone else needs a little encouragement or help! Meal planning for me isn't really as helpful for me as it probably is for a large family, but my Type-A-ness really appreciates order and organization, so I do it anyway
My meal plan for October
I use a calendar I made on Microsoft Publisher where I enter the names of meals for that dinner or if I know we will be gone on a day. It helps to have a visual for the week/month/however far in advance. Then on the side of each month I have a text box for grocery lists that I can update as needed. I use this list to make a list on my phone to take to the store. I also have a notepad on the refrigerator where Jess and I can add things as we use the last of it, not just groceries but household items as well. 
We use the entire page until it runs out, marking what
we've purchased with black permanent marker. 
The way I started meal planning so far in advance was compiling recipes that I liked or wanted to try and keeping them handy and in a list. Where I used to just pull straight from that list on a whim, I could now use that list to enter meals into the calendar and plan ahead. My list of recipes started at about 15-20 and now it has about 30-40ish, of course adding in the random Pinterest-find. I have a ton of cookbooks, recipe boxes, and note cards with recipes on them. 

One thing I've learned that helps with meal-planning AND healthy portion control is only making enough for the specific meal. How this helps with meal planning is it can give a direction for several days worth of dinners. For example: I bought one pound of ground beef, but that is too much for any recipe that I'd make for just Jess and I. So the first night we have meatloaf and the second night we will have tacos, each using 1/2 lb of beef. When you have to buy ingredients in larger portion sizes that will go bad (if you can't freeze it or store it in the pantry for very long) just try to make multiple meals in a row that use those ingredients. 
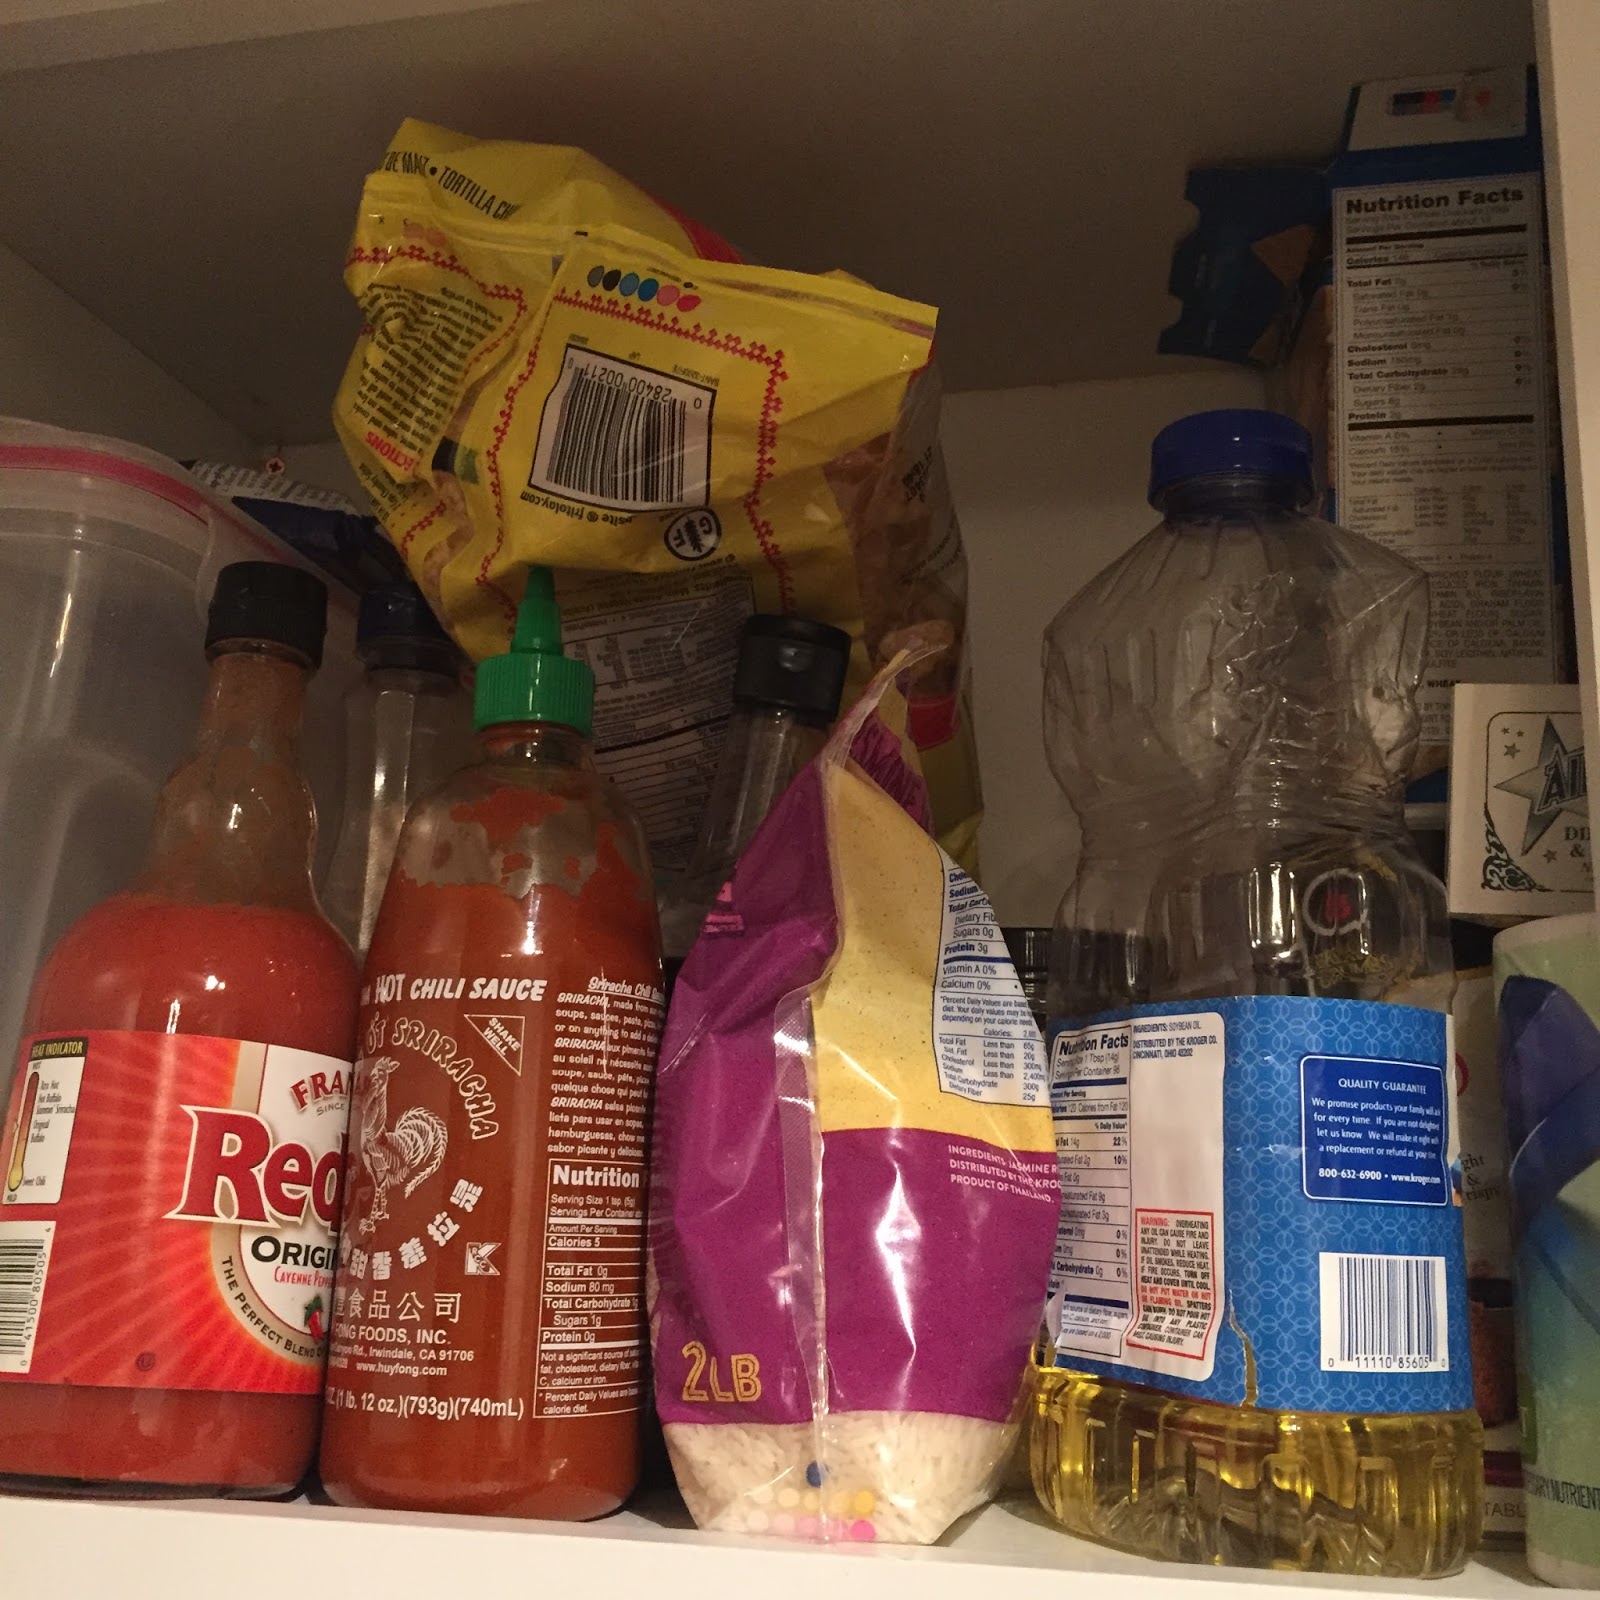
The essentials...rice, tortilla chips, and sriracha.
I know I have talked about grocery lists before, but I'm going to reiterate. I shop at least once, sometimes 2-3/week, depending on my schedule. I only buy things that are on my list. It takes a while at first, but once you get the hang of it it gets better. You learn to take a mental inventory of what you have in stock every day (rice, cheese, milk, that kind of thing) and on top of that get what you'll need for your 5-7 planned meals. But seriously, write down everything and ONLY buy what you have written down. Make a list BEFORE you go to the grocery store and BEFORE you are hungry. I make mine a few days in advance so I have time to edit/add if I forgot something. 
My stuffed-full cabinet..as all of them are when you
only have two cabinets...
Just with Jess and I's schedules, I always keep one to two nights free and unplanned in case something comes up or he wants to go out to eat. That way you can easily just bump Tuesday night's dinner to Wednesday or whatever needs done. But on the other side of that, if for some reason I don't have a specific meal planned and end up having to make dinner, I have a standby list of about 5 meals that can be made with things I keep on hand. These can be as simple as some packaged soup with grilled cheese or just baked chicken with rice. 
I typically always have frozen chicken, frozen tilapia, and an assortment
of vegetables in the freezer. 
If you use a lot of veggies (like me, I throw broccoli and carrots in basically everything), I suggest frozen. It's cheaper both in price and longevity (if you only need a cup you haven't wasted the rest if you don't eat it in a few days) and it is just as healthy as fresh. In fact, science has shown that frozen vegetables actually retain MORE vitamins than fresh because it is frozen immediately upon harvest instead of being transported right after, so: cool. 

So what have we learned here? 
1. Make an archive of recipes. 
2. Make a calendar.
3. Fill in said calendar with meals. 
4. Make grocery lists 1/2-1 week in advance. 
5. Only buy from grocery lists. 
6. Utilize ingredients for multiple meals. 
7. Splurge. 
My list for next week.
Feel free to ask any specific questions about how I can help with your schedule or needs; I love organization, food, and problem-solving! 

Tuesday, September 8, 2015

Margherita Pizza (with a twist)

My pizza-topping-tastes have changed dramatically over the years. While I was never a "cheese-only" kind of person, I did find comfort in a plain pepperoni pizza when I was a kid. Then It became pepperoni & sausage, then I added olives. Now, as an adult I will pretty much eat anything and everything on my pizza EXCEPT MUSHROOMS. Gross.

*actually gagging because mushrooms gross me out so much*

One of my favorite pizzas lately has been the Athenian from Mackenzie River Pizza Company, which is basically just a margherita pizza with kalamatta olives. That is what I was trying to replicate here and I came very close to succeeding. I made a balsamic glaze to drizzle over this one, so it was sort of a caprese pizza? Wait, what is the difference between caprese and margherita? Is there a difference? Does margherita specifically refer to tomato, mozzarella, and basil on a pizza? Whatever.

I frequently make my own pizza crust, but this day I did not because it makes 4 crusts and I was home alone and had some Mama Marie's pre-made crusts in the cabinet and that was 100% easier. However, feel free to substitute whatever pizza crust you typically use.

Also, a note about roasted garlic: this should have it, but alas I had to use powdered/minced-dried. I love roasted garlic. LIKE, LOVE LOVE WANT TO MARRY. But I have never been able to make it at home because my oven hates me. On this particular day, it burnt it to a crisp, even though it was only in the oven at 375F for 25 minutes. WOOF. So, if your oven is cooperative and you can make roasted garlic, do that. If not, be like me and take the easy/quick-fix way out.

Most of the amounts here are up to your own discretion, I like more cheese and less tomato, but you make like more tomato, etc. You do you.

Ingredients
your favorite pizza crust (personal size, think 7-10")
1.5 tablespoons olive oil
Garlic, either 1/2 tsp powdered, 2 cloves minced, or 2 cloves roasted
Fresh Mozzarella, 4-5 thin slices
Roma tomato, I used about 1/2 sliced thin
Kalamatta olives, I used about 7 sliced in half
Fresh basil leaves, 3-5, chiffonade
1 tablespoon balsamic vinegar
Salt & Pepper to taste
the twist: olives! 
Instructions
Preheat oven to 425.

In small bowl, combine olive oil, garlic, and salt & pepper to taste. Brush pizza crust with half of mixture and bake for 5 minutes to firm it up a bit.

Add mozzarella, sprinkle with salt & pepper. Add tomatoes, sprinkle with salt & pepper. Add olives, sprinkle with salt & pepper. Bake 10 minutes.

Add basil leaves and bake another 3-5 minutes.
A. I need a new camera B. I need a macro-lens for said camera...I love up-close shots of food!
Add balsamic to remaining olive oil mixture and drizzle over pizza.

Dig in!

Can we get closer? 
Yes. Yes we can. 

*All baking times are completely subjective, it depends on your crust and how crisp/soft you like your pizza. Start with a short time and add a few minutes at a time until the pizza reaches your desired doneness.

Thursday, September 3, 2015

Bachelorette Party Gift Bags

One of my Little Sisters is getting married this fall! Yayyy!

Her bachelorette party was last weekend, a whole day & night of fun downtown. 

While I didn't plan the party itself, I was put in charge of creating a little survival kit or party favor bags to give to all of the guests and let me tell you...IT WAS TOO MUCH FUN!

I seriously spent weeks poring over Pinterest looking for the best ideas, making lists, going to craft stores and liquor stores, perusing Etsy. Then the shopping began, then the assembly. I'm actually still excited about them and can't wait until the next opportunity to do something similar. 

There were a total of 11 guests, including myself and the bride and it ended up costing about $130 total after everything was done, so just over $11 per bag. I bought everything in stages over the course of several months, so I was able to budget a small bit of money every few weeks for buying supplies to make it work out fine. There is definitely room to cut back, too, if you'd like to do something similar but not spend as much money. For example, the coozies were $5 each and are totally optional...although adorable, more on those later. The little one-shot alcohol bottles are $1 each and can add up quickly if you have a large guest list, and chances are you will already have enough alcohol around ;) 

The two things I ordered special for these gift bags were the coozies and the elastic to make the hair ties. I ordered 5/8" Fold Over Elastic to make the hair ties myself since they are SO expensive to buy at the store. This shop was prompt, affordable, and has pretty much any color or amount you could ever need, Pretty NEZ Supplies, check them out! I can't take credit for the genius idea of buying this elastic in bulk, that belongs to The Superettes. You can make them any size you want, I cut mine to 9" so they'd comfortably fit around a wrist but still make a solid ponytail. 

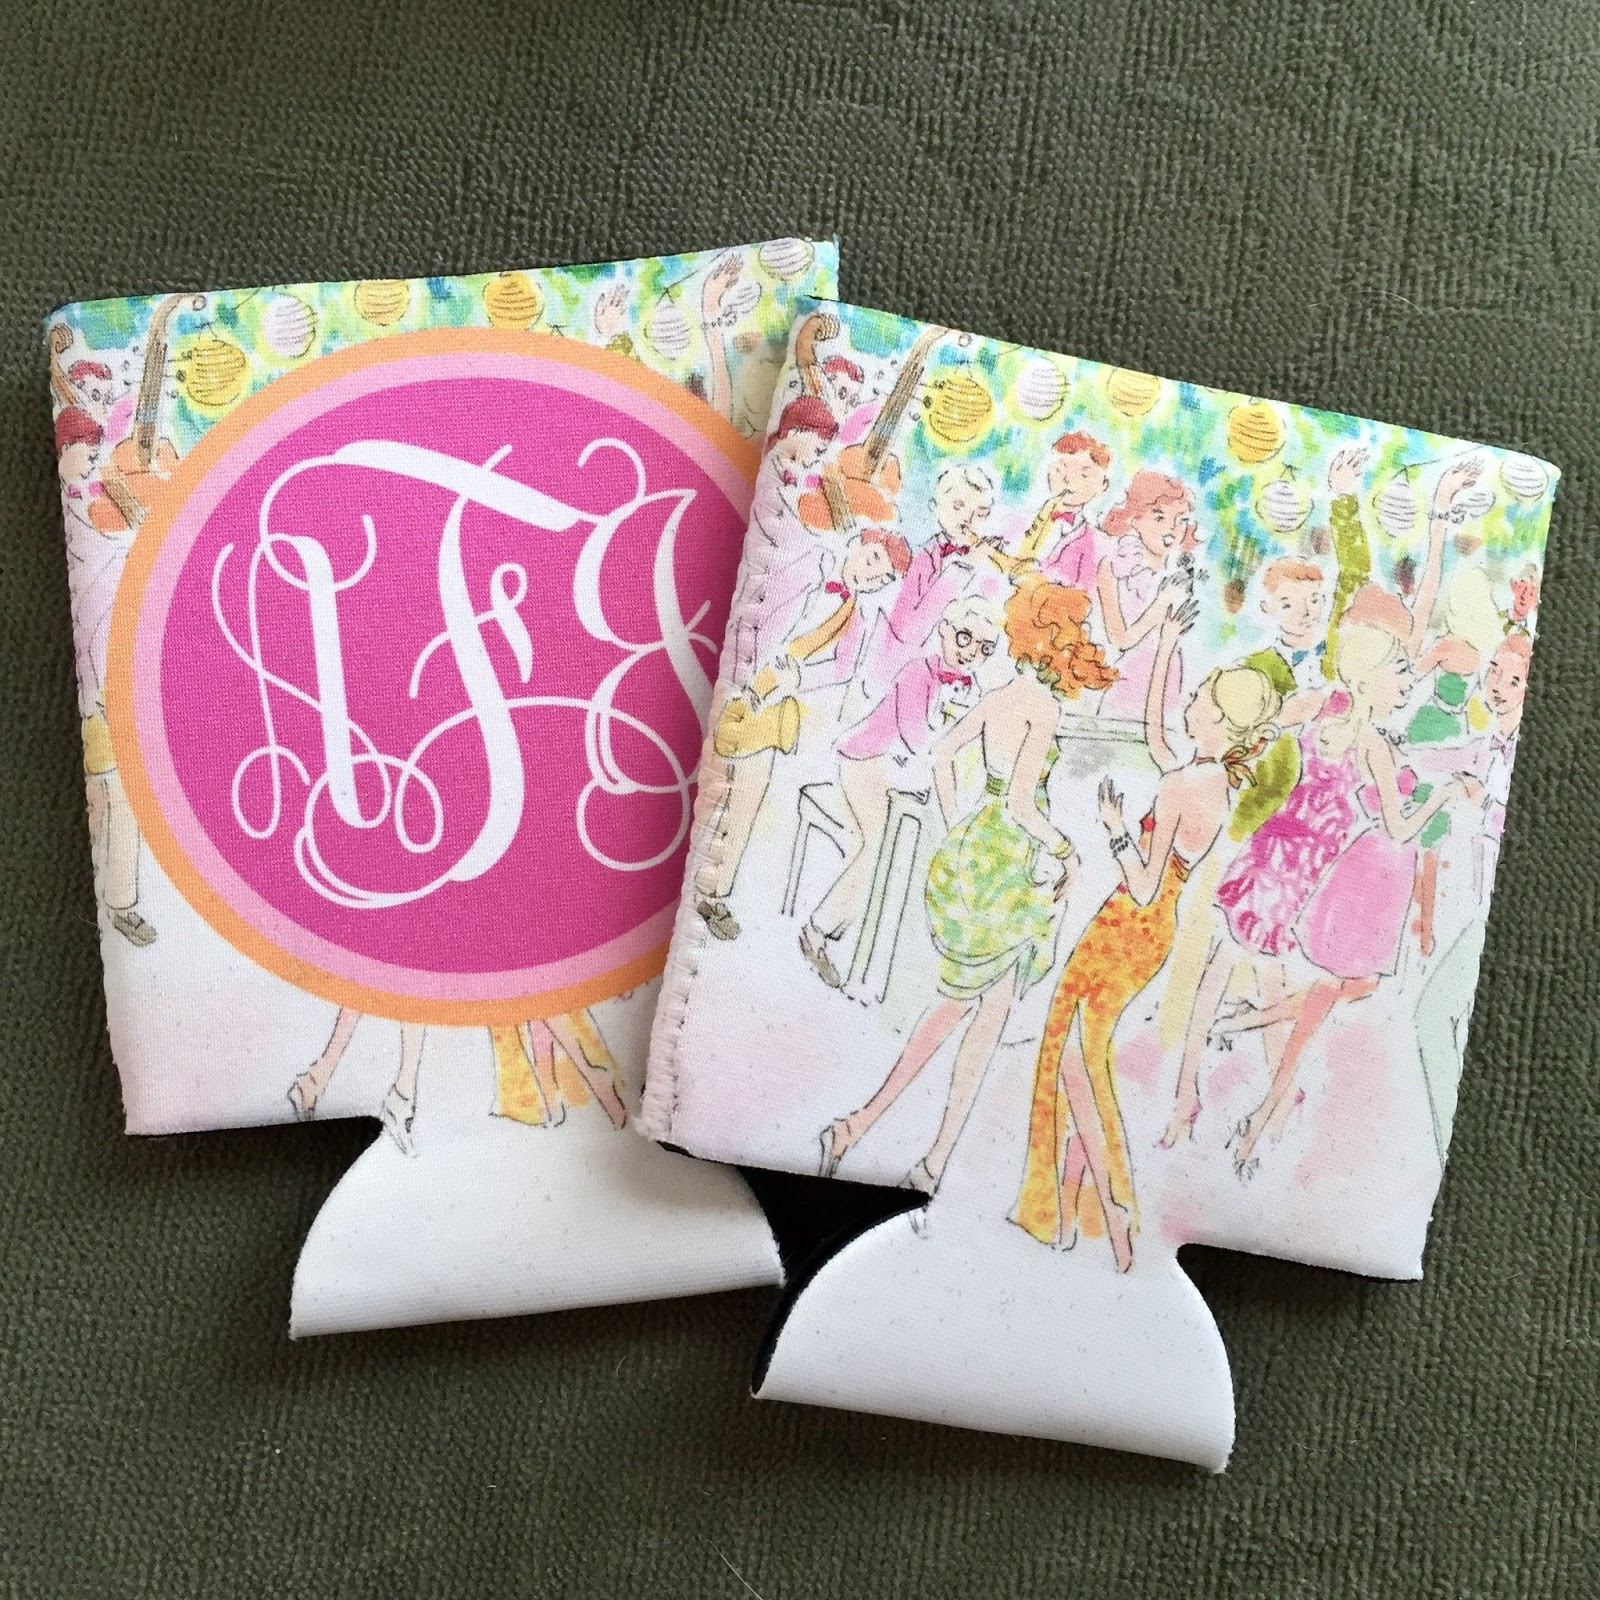
The coozies came from Brant Point Prep on Etsy. Tiffany was extremely attentive and easy to work with and she has so many cute items in her shop! I highly recommend it for anyone looking for cute monogrammed items. I actually misspelled someones name in my original order and had to reorder one additional coozie and she got it out immediately! The turnaround was very quick, it shipped the day after I ordered them. And, come one, these are the cutest things ever. 
LOOK AT IT. 

So here is what went into my bags: 

1. Monogrammed Coozie - The monogram is on one side and other just has the adorable Lilly print! 

2. Hair Ties - I cut some scrapbook paper into rectangles so that the hair ties fit snugly and wrote "To have and to hold ...your hair back" at the top. 

3. Nail Files - because there's not much worse than a hangnail on a night out. 

4. Make-up Remover Wipes - I found these individually wrapped wipes in 3-packs at the Dollar Tree. 

5. Basic First Aid - "first aid" may be a bit of an overkill here, but everyone got a packet of ibuprofen, 2 pepto-bismol tablets, and 2 bandaids. 

6. Snacks - everyone got some baby Reese's, a pack of Teddy Graham's and then another pack of cookies out of the variety pack, either Oreos, Chis Ahoy, or Nutter Butters. 

7. Water - hydration is key on a weekend like this! 

8. 5-Hour Energy - because, well, it was a long day! 

9. Tiny Alcohol - half of the people got Smirnoff Vodka and half got Jim Beam Red Stag. The bride got a whiskey sampler because she loves Jim, which included Red Stag, Jim Beam Honey, and classic Jim Beam. 
Everything just barely fit...
Jamison & Ginger Ale were quite intrigued. 

Coozie and hair ties. 

Nail file, makeup remover, bandaids, ibuprofen, & pepto.

Snackies. 

Liquid sustenance. 

Once I had everything purchased I put them in these little labeled gift bags, added some tissue paper, put some curling ribbon on the bride's and called it a day! And then they sat in my kitchen for two weeks and I got ridiculously excited to give them to my friends every time I saw them...